How to Connect PS3 Controller with Raspberry Pi Wirelessly
1
This post contains Amazon affiliate links. If you buy through them, TechZado may earn a small commission at no extra cost to you.
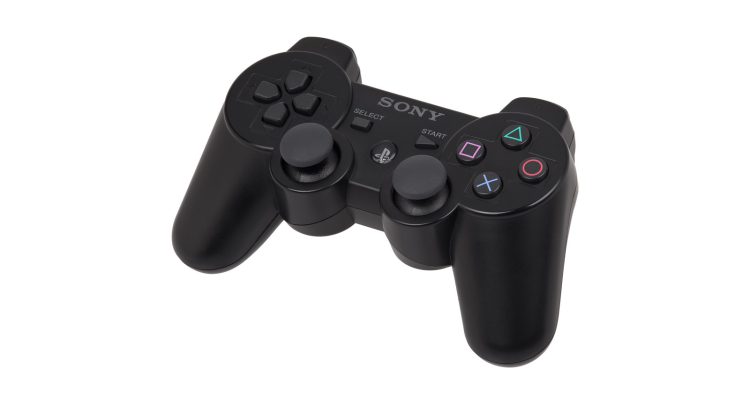
Want to connect PS3 controller with Raspberry Pi wirelessly? This guide shows you how to pair an original PS3 controller with any Bluetooth-capable Raspberry Pi on current Raspberry Pi OS, test it, and fix the most common problems. Note that I have focused on the word ‘Original’ because this will work only with the original PS3 or PS4 controllers and not the duplicate ones.
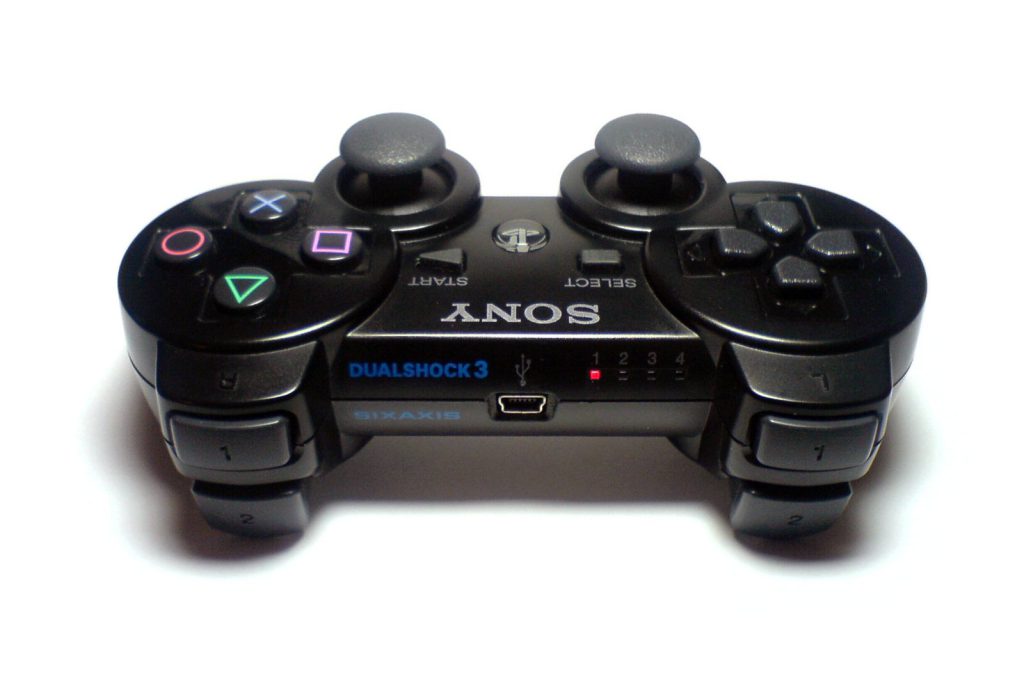
Now the question arises, “How in the world will I figure out whether my PS3 controller is original or duplicate?”. It’s easy to know whether your PS3 controller is original or not. Turn the controller around and on the back side you will see a ‘Reset’ button. Press the button with the help of a toothpick or any thin stick. If you feel or hear a click, then congrats, it means your controller is original and not fake. Now you can start with the below steps to connect your PS3 controller with the Raspberry Pi. If you have a PS4 controller, see the bonus section at the end.
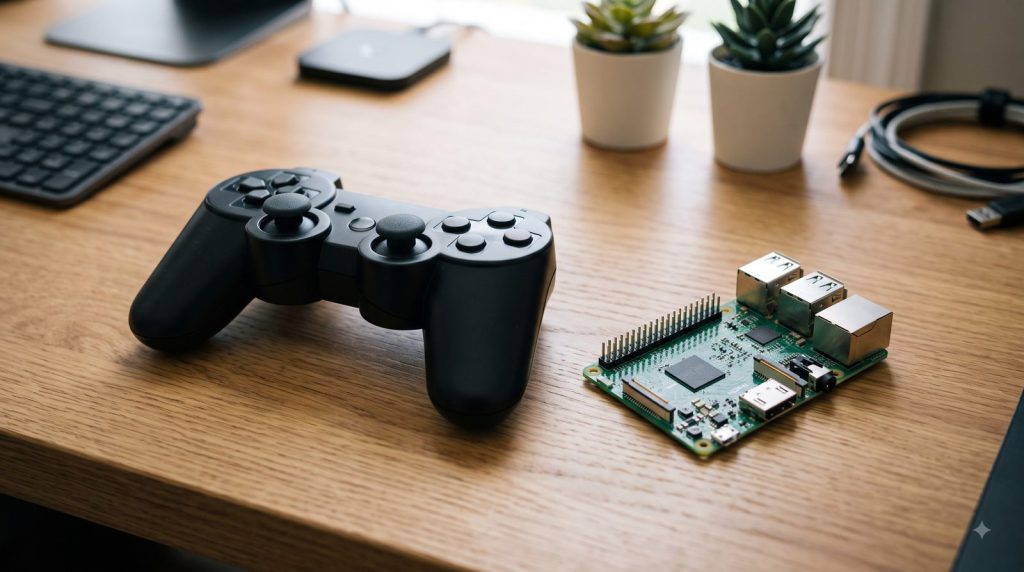
Quick Answer: How to Connect PS3 Controller with Raspberry Pi
Here is the short version. Each step is explained in detail below.
- Update Raspberry Pi OS and make sure Bluetooth is on.
- Set
ClassicBondedOnly=falsein/etc/bluetooth/input.confand restart Bluetooth. - Run
bluetoothctl, thenagent onanddefault-agent. - Plug the PS3 controller in with a Mini-USB cable and answer yes to “Authorize service”.
- Run
trustwith the controller’s MAC address. - Unplug the cable and press the PS button. The controller now connects over Bluetooth.
What You Need Before You Start
Before you connect your PS3 controller with Raspberry Pi, gather the following:
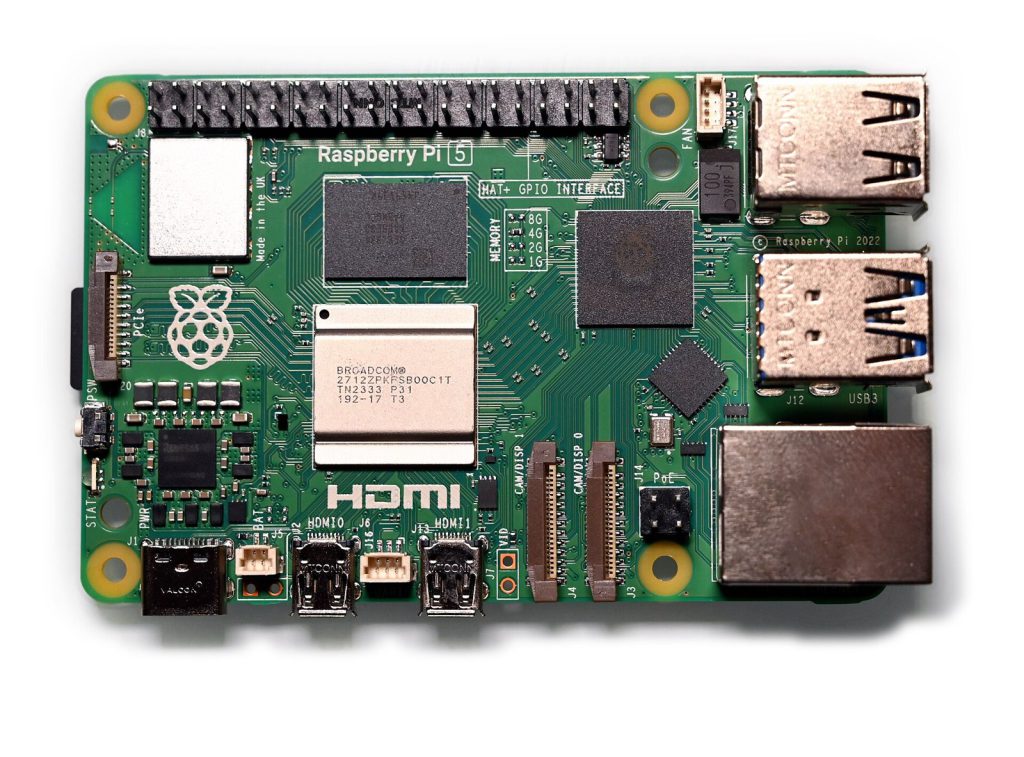
- A Raspberry Pi with Bluetooth: the Raspberry Pi 3, 3B+, 4, 400, 5, Zero W and Zero 2 W have Bluetooth built in. Older boards such as the Pi 1, Pi 2 and the original Pi Zero need a USB Bluetooth dongle. If you are buying a new board, the Raspberry Pi 5 (4GB) with built-in Bluetooth is one option.
- Raspberry Pi OS (Bookworm), up to date. These steps use the standard Linux Bluetooth stack (BlueZ) that ships with it, so no extra drivers are needed.
- An original Sony DualShock 3 controller (PS3), or a DualShock 4 (PS4) if you follow the bonus section at the end. If you don’t already own one, genuine DualShock 3 pads are hard to find new, so a Sony DualShock 4 wireless controller is the easiest option to buy today.
- A USB cable for your controller: Mini-USB for the PS3 controller, Micro-USB for the PS4 controller. For the PS3 controller this cable is not optional, as you will see below.
- A good power supply for the Pi, because a controller charging over USB draws extra power.
- A keyboard and screen, or an SSH session, to type a few commands in the terminal.
Step 1: Update Your Raspberry Pi
Before pairing anything, make sure your Raspberry Pi is up to date. Open the terminal and run:
sudo apt update
sudo apt full-upgrade -y
Then make sure Bluetooth is turned on and not blocked:
sudo rfkill unblock bluetooth
sudo systemctl enable --now bluetooth
Step 2: Allow Older Controllers to Connect (Important for PS3)
This is the step most old guides miss, and it is the reason many people find that their PS3 controller “pairs” but never stays connected. A BlueZ security update (for the vulnerability CVE-2023-45866) made Linux stricter about which input devices may connect. The DualShock 3 does not pair in the normal Bluetooth way, so on updated systems it gets rejected.
The fix is a single setting. Open the Bluetooth input configuration file:
sudo nano /etc/bluetooth/input.confFind the line #ClassicBondedOnly=true (it is inside the [General] section), remove the # and change it to:
ClassicBondedOnly=falseSave with CTRL + X, then Y and ENTER, and restart Bluetooth:
sudo systemctl restart bluetoothKeep in mind that this relaxes a security protection a little: it lets input devices that are not fully bonded connect to your Pi. For a home project or a retro gaming box this is the usual trade-off, but you should know what you are changing. If you only use a PS4 controller you can skip this step, because the DualShock 4 pairs normally (see the bonus section at the end).
Step 3: Connect PS3 Controller with Raspberry Pi Using bluetoothctl
The PS3 controller is a bit special. It does not search for new devices on its own; it only connects to the Bluetooth address stored inside it, which is normally your PlayStation 3. So the first time, we plug it in with a USB cable and let the Raspberry Pi write its own address into the controller. The BlueZ sixaxis plugin that comes with Raspberry Pi OS does this automatically, so you don’t need the old sixpair program. Here is how to pair a PS3 controller with Raspberry Pi step by step.
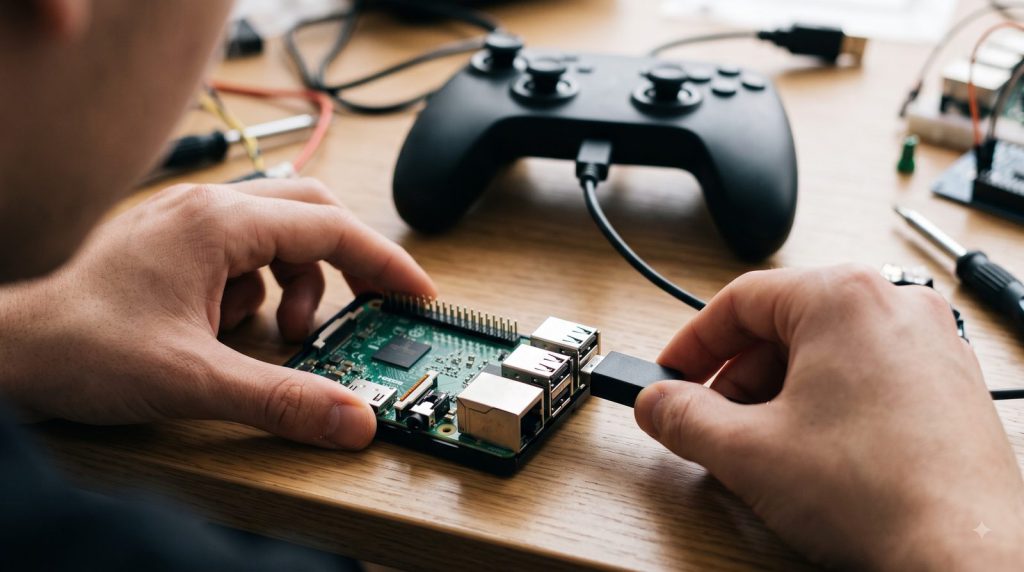
- Make sure the controller is not plugged in yet. Then start the Bluetooth tool:
bluetoothctl - Inside
bluetoothctl, switch on the agent and make it the default, so that the Pi can ask you to approve the controller:power on agent on default-agent - Now plug the PS3 controller into the Raspberry Pi with the Mini-USB cable. Within a few seconds you should see the controller appear (as “Sony PLAYSTATION(R)3 Controller”) and a question like:
[agent] Authorize service 00001124-0000-1000-8000-00805f9b34fb (yes/no):Type yes and press ENTER. If nothing happens, press the PS button once while the cable is connected.
- Note down the controller’s MAC address. It is shown in the “Device” line, or you can list it with:
devicesThe address looks like
00:1B:FB:XX:XX:XX. - Trust the controller, so it can reconnect by itself in the future. Replace the address with your own:
trust 00:1B:FB:XX:XX:XXYou should see
Changing ... trust succeeded. - Unplug the USB cable and press the PS button. The four LEDs will blink for a moment and then a single LED should stay lit. In
bluetoothctlyou will seeConnected: yes. - Type
quitto leavebluetoothctl.
That’s it. Your PS3 controller is now paired with the Raspberry Pi over Bluetooth and works without the cable.
Step 4: Test Your PS3 Controller on Raspberry Pi
Now let’s check that the Raspberry Pi is really reading the buttons and sticks. Install the testing tools:
sudo apt install joystick evtest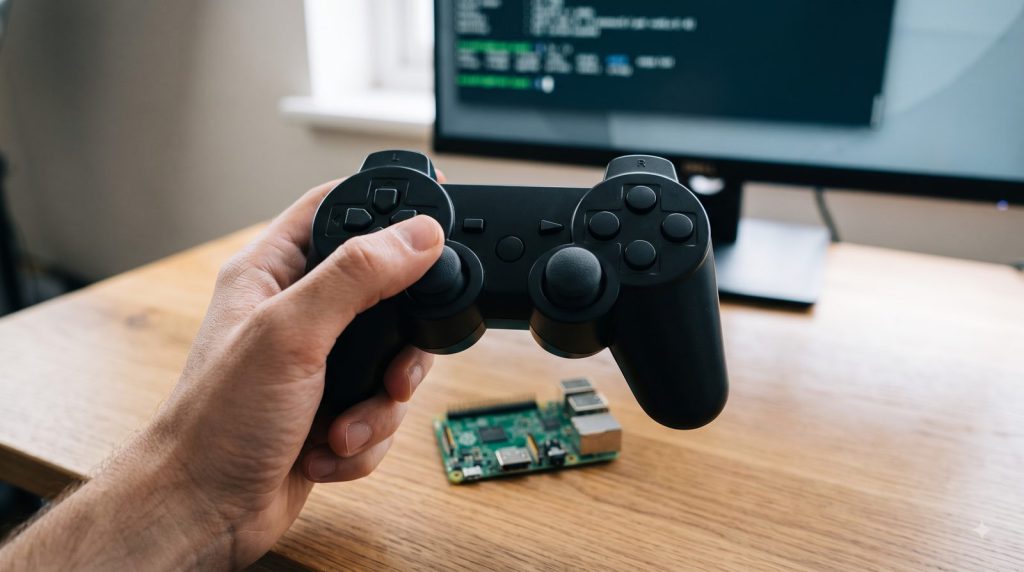
Testing with jstest
Run:
jstest /dev/input/js0Move the sticks and press the buttons. You should see the numbers change in real time. Press CTRL + C to stop. If js0 is not found, list what exists with ls /dev/input/; with more than one controller connected it may be js1.
Testing with evtest
evtest shows every input device on the Pi, which is handy because the PS3 and PS4 controllers also create separate devices for the motion sensors and the touchpad. Run:
sudo evtestPick the number next to the controller (for example “Sony PLAYSTATION(R)3 Controller” or “Wireless Controller”) and press some buttons. Each press is printed as an event. Press CTRL + C to exit.
Step 5: Reconnecting Later
Once you connect PS3 controller to Raspberry Pi and trust it, you don’t need to repeat the pairing. After a reboot, just press the PS button and the controller will connect to the Raspberry Pi on its own within a few seconds.
A couple of things to remember:
- If you plug your PS3 controller back into a PlayStation 3, the console writes its own address into the controller again. After that you have to repeat Step 3 on the Pi.
- If you change the Bluetooth adapter (for example, you add a dongle or move the SD card to another Pi), the address changes and you need to pair again.
- To remove a controller completely, open
bluetoothctland runremove XX:XX:XX:XX:XX:XX.
Troubleshooting PS3 Controller Raspberry Pi Bluetooth Problems
The PS3 controller LEDs keep blinking and it never connects
Blinking LEDs mean the controller is looking for its host and can’t find it. Check that you did Step 2 (ClassicBondedOnly=false) and restarted Bluetooth, then remove the controller in bluetoothctl with remove and do Step 3 again. Make sure default-agent was running before you plugged in the cable, otherwise the “Authorize service” question never appears.
No “Authorize service” question appears when you pair the PS3 controller
Unplug the controller, leave bluetoothctl running with the agent on, and plug it in again. Try another USB cable as well. Some cheap cables can only charge and do not carry data. You can watch what the Bluetooth service is doing with:
journalctl -u bluetooth -fThe PS3 controller connects to the Raspberry Pi and disconnects straight away
This is very often the ClassicBondedOnly setting from Step 2. Also check that the controller is charged. Plug it into the Pi for a while, since a nearly empty battery can cause random disconnects.
My controller is a fake or third-party one
Many copy controllers (often sold as “Shanwan” or “Gasia” models) do not follow the original Sony behaviour, and the steps above may not work with them. They usually still work fine over a USB cable. That’s why I asked you to check the reset button at the beginning of this article.
My Raspberry Pi has no Bluetooth
If you are using a Pi 1, Pi 2 or an original Pi Zero, plug in a USB Bluetooth dongle that is supported by Linux, then follow the same steps. You can check that the Pi sees an adapter by running bluetoothctl list. If it prints nothing, there is no working Bluetooth adapter.
What about sixad or QtSixA?
Older guides use sixad (from QtSixA) and sixpair. They are outdated and are not needed on current Raspberry Pi OS. The built-in Bluetooth stack does the job, and it doesn’t get in the way of your other Bluetooth devices.
Frequently Asked Questions About Connecting a PS3 Controller to Raspberry Pi
Can you connect a PS3 controller to Raspberry Pi without a USB cable?
Not the first time. An original PS3 controller only connects to the Bluetooth address stored inside it, and the Raspberry Pi can only write its address there over USB. After that one-time cable step, the controller connects wirelessly every time you press the PS button.
Does a fake PS3 controller work with Raspberry Pi?
Often not over Bluetooth. Many copy controllers don’t behave like the original Sony controller, so the pairing steps in this guide may fail. Most of them still work when plugged in with a USB cable.
Which Raspberry Pi models have Bluetooth built in?
The Raspberry Pi 3, 3B+, 4, 400, 5, Zero W and Zero 2 W have Bluetooth built in. The Pi 1, Pi 2 and the original Pi Zero need a USB Bluetooth dongle.
Why does my PS3 controller keep disconnecting from Raspberry Pi?
On an updated system, the most common reason is the BlueZ security setting covered in Step 2. Set ClassicBondedOnly=false, restart Bluetooth and pair again. A low battery can also cause random disconnects, so charge the controller.
Do I need to pair again after using the controller with my PS3?
Yes. When you plug the controller into a PlayStation 3, the console writes its own address into it. To use it with the Raspberry Pi again, repeat Step 3.
Can I connect more than one PS3 controller to Raspberry Pi?
Yes. Pair each controller the same way. Each one shows up as its own input device, for example /dev/input/js0 and /dev/input/js1.
Bonus: How to Connect a PS4 Controller with Raspberry Pi
If you also have a PS4 controller, such as the Sony DualShock 4 wireless controller, the process is simpler, because it pairs like a normal Bluetooth device and does not need the USB cable step or the setting change from Step 2. Make sure your Pi is updated (Step 1), then:
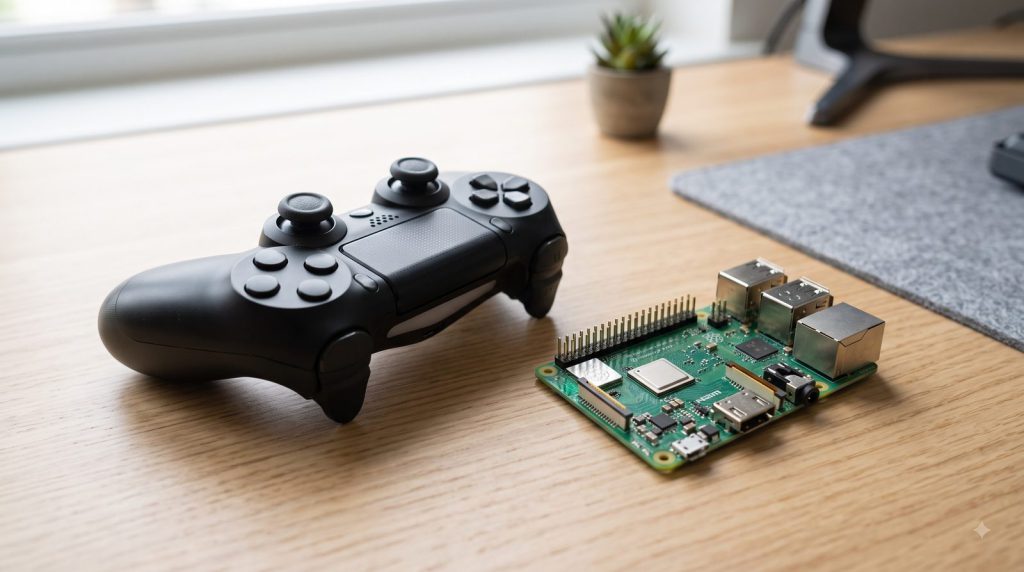
- Start
bluetoothctland get it ready:bluetoothctl power on agent on default-agent scan on - Put the controller into pairing mode: hold the Share button and the PS button together for a few seconds, until the light bar starts flashing quickly in double flashes.
- Watch for a line like
[NEW] Device XX:XX:XX:XX:XX:XX Wireless Controllerand note the address. - Pair, trust and connect it (use your own address):
pair XX:XX:XX:XX:XX:XX trust XX:XX:XX:XX:XX:XX connect XX:XX:XX:XX:XX:XX - When you see
Connection successfuland the light bar stays solid, typescan offand thenquit.
If the light bar stops flashing before you finish, just hold Share + PS again and repeat the pair command.
You can test it the same way as in Step 4, with jstest or evtest. It shows up as “Wireless Controller”.
Wrapping Up
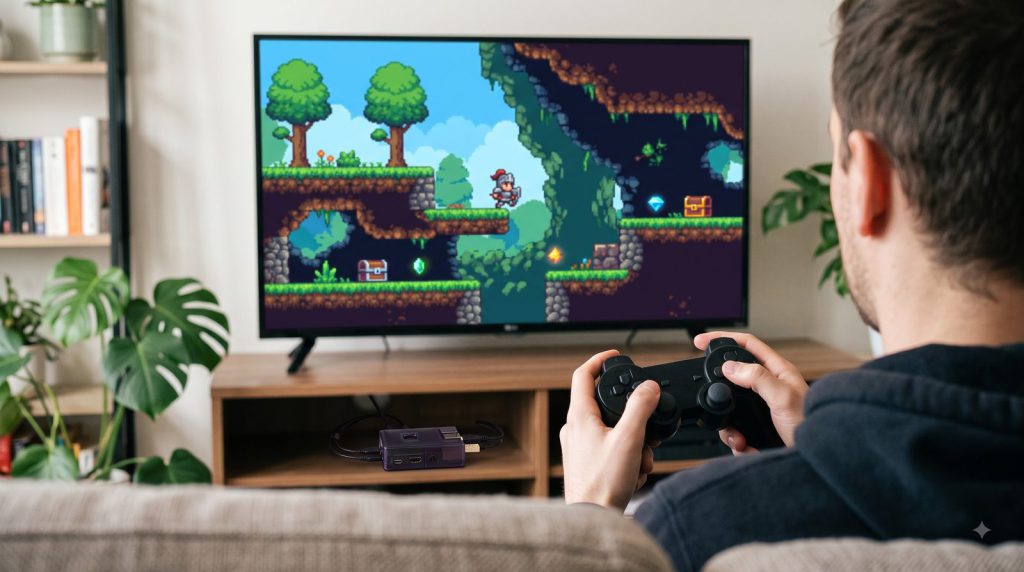
To connect PS3 controller with Raspberry Pi wirelessly, it comes down to three things: allow older controllers to connect, plug the controller in once with a USB cable so the Pi can authorize it, and trust it in bluetoothctl. And as the bonus section shows, a PS4 controller is even easier and pairs like any other Bluetooth device with Share + PS.
Once it’s connected, you can use your controller for retro gaming with RetroPie or other emulators, for Python projects, or to drive robots and other Raspberry Pi gadgets. If you use your Pi for coding projects too, check out my guide to install Go on Raspberry Pi. If you get stuck at any step, the troubleshooting section above covers the most common problems.
Related Product(s)
Leave a Reply